


Premium Quality
Sourced from the finest organic farms, ensuring 100% purity and potency in every herb.
Fast Shipping
Quick and reliable delivery to bring fresh organic goodness straight to your doorstep.
Secure Payment
Safe and encrypted transactions for a worry-free shopping experience.
Best Sellers of the Month
Discover our most loved products selected by customers like you.
Wine Side Patches
₹6,000.00
₹6,500.00
Book a Video Consultation
Get personalized advice from our experts in the comfort of your home
Schedule Your Session
What You'll Get
- One-on-one personalized consultation with certified experts
- Customized product recommendations based on your needs
- Detailed usage guidelines and lifestyle tips
- Follow-up support via email for 7 days
- 30-minute dedicated session via video call
Terms & Conditions
- • Consultations are available Monday to Saturday, 9 AM to 6 PM
- • Please book at least 24 hours in advance
- • Cancellations must be made 12 hours before the scheduled time
- • A stable internet connection and video-enabled device are required
- • Consultation link will be sent via email 1 hour before the session
- • This is for informational purposes only and not a substitute for medical advice
Need Help?
Have questions about booking? Contact our support team at hairnicheindia@gmail.com or call 97811 34384
Browse Collections
Our Social Feed
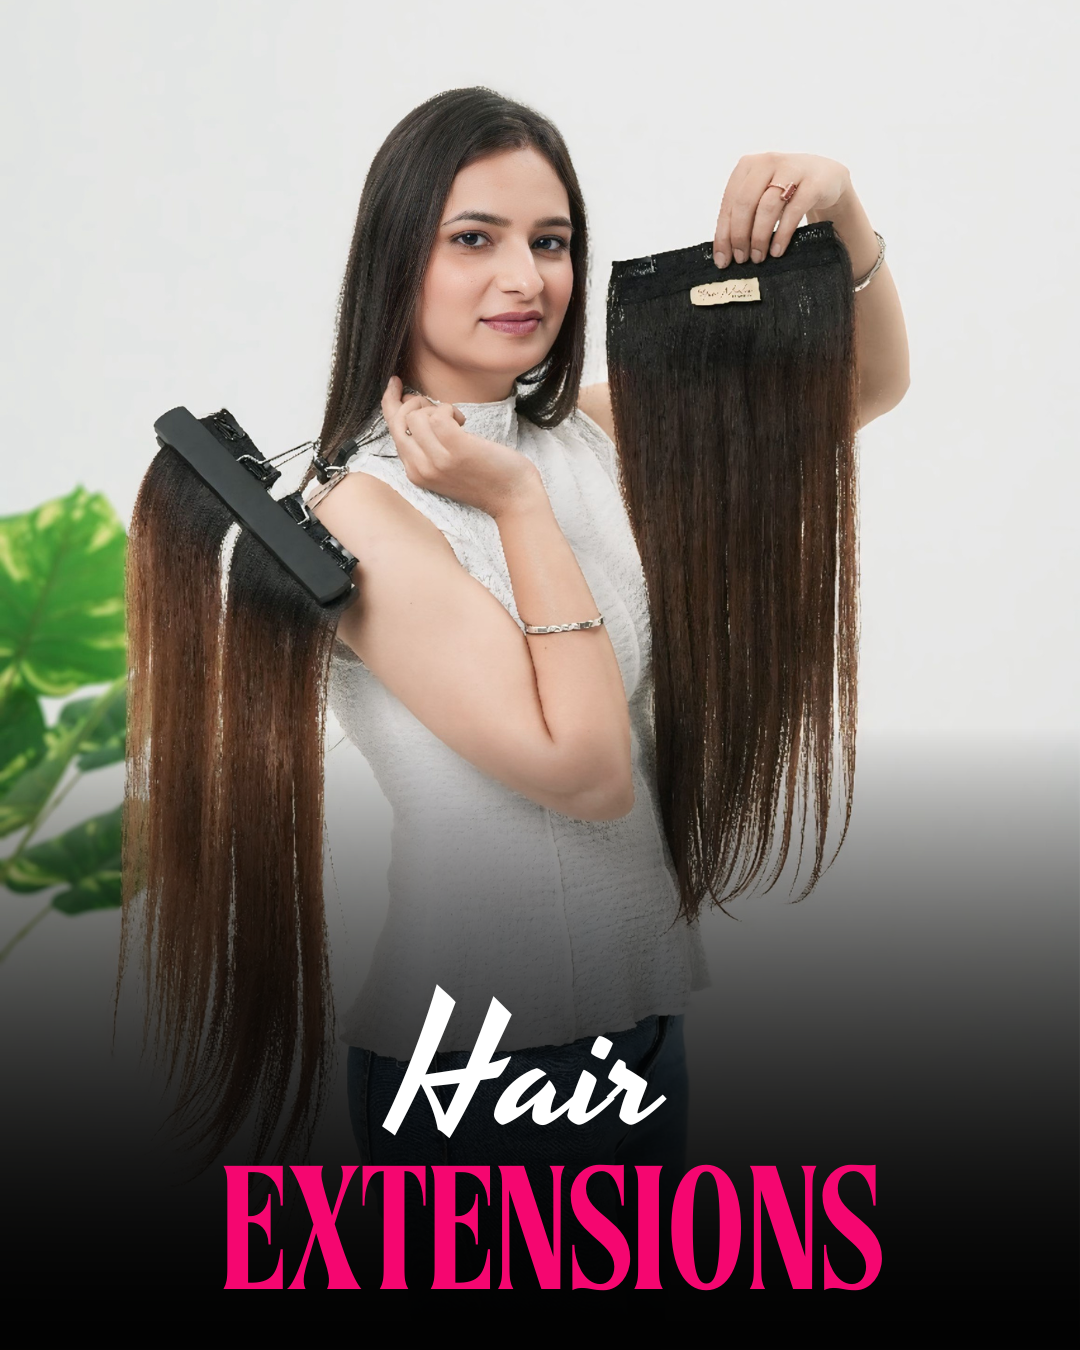
Hair Extensions
Volumizers Featured Collection
View All2 Set Back Hair Volumizer (Natural Black)
₹9,500.00
₹10,500.00
10% Off2 Set Back Hair Volumizer (Natural Brown)
₹9,500.00
₹10,500.00
10% Off3 Set Volumizer (Natural Black)
₹9,500.00
₹10,000.00
5% Off3 Set Volumizer (Natural Brown)
₹9,500.00
₹10,000.00
5% OffPonytail Featured Collection
View AllWrap Ponytail (Highlighted)
₹10,999.00
₹12,999.00
15% OffPrandi Ponytail (Natural Brown)
₹7,500.00
₹9,500.00
21% OffPrandi Ponytail (Natural Black)
₹7,500.00
₹9,500.00
21% OffBack Clip Ponytail (Natural Black)
₹4,500.00
₹5,000.00
10% OffStreaks Featured Collection
View AllSingle Clip Streak (Natural Black)
₹600.00
₹800.00
25% OffSingle Clip Streak (Natural Brown)
₹600.00
₹800.00
25% OffSingle Clip Streak (Wine)
₹600.00
₹800.00
25% OffSingle Clip Streak (Pastel Purple)
₹600.00
₹800.00
25% OffBangs Featured Collection
View AllDense Bangs (Natural Black)
₹3,000.00
₹5,000.00
40% OffDense Bangs (Natural Brown)
₹3,000.00
₹5,000.00
40% OffWispy Bangs
₹1,500.00
₹2,000.00
25% OffBuns & Scrunchies Featured Collection
View AllClipNGO Bun Natural Black
₹899.00
₹999.00
10% OffClipNGO Bun Natural Brown
₹899.00
₹999.00
10% OffDonut Scrunchie (Chestnut Brown)
₹2,500.00
₹3,500.00
29% OffDonut Scrunchie (Heena)
₹1,500.00
₹1,800.00
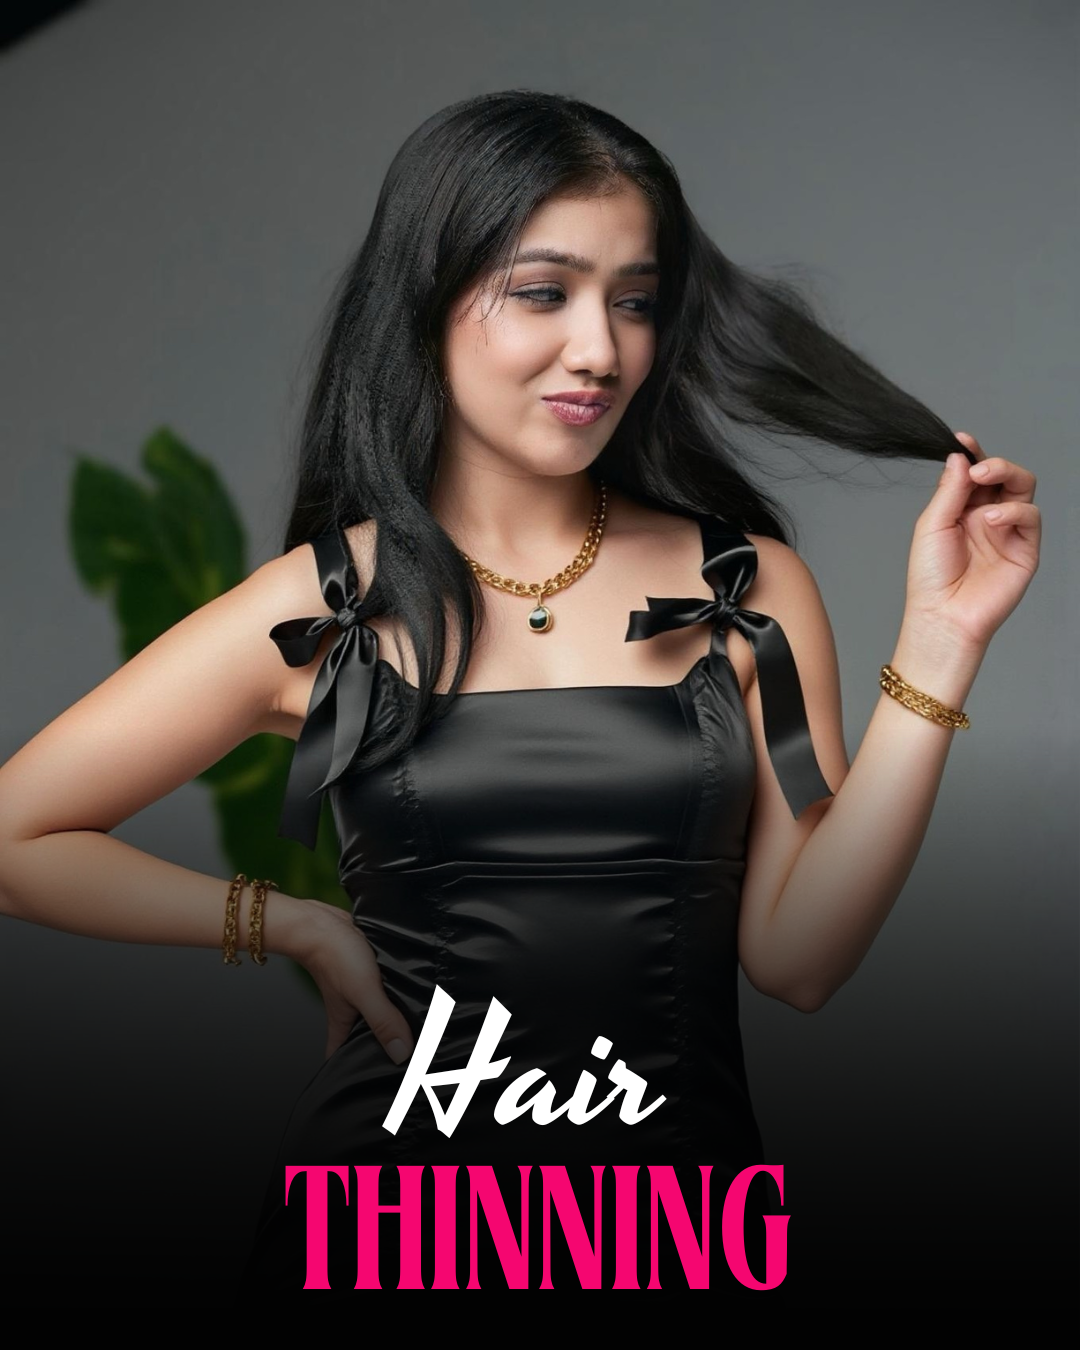
17% OffHair Thinning
Toppers Featured Collection
View All6 by 6 Silk Base Hair Topper
₹16,500.00
₹17,000.00
3% OffBackcomb Hair Topper
₹8,500.00
₹9,500.00
11% OffBig Hair Topper
₹18,000.00
₹21,000.00
14% OffCrown Perfect Hair Topper (Silk Base)
₹20,500.00
₹24,000.00
15% OffPatches Featured Collection
View AllBroad Cover up Patch
₹3,500.00
₹4,000.00
13% OffExtra Wide Cover Up Patch
₹5,000.00
₹5,500.00
9% OffFront Hairline Patch (Short length)
₹3,200.00
₹3,500.00
9% OffInvisible Cover Up patch (Natural Black)
₹1,700.00
₹2,000.00
15% OffWigs Featured Collection
View AllBob Cut Full Head Wig
₹18,000.00
₹18,500.00
3% OffFront Lace Full Head Wig
₹22,500.00
₹23,000.00
2% OffHalf Head Wig (Natural Black)
₹16,000.00
₹16,500.00
3% OffHalf Head Wig (Natural Brown)
₹16,000.00
₹16,500.00
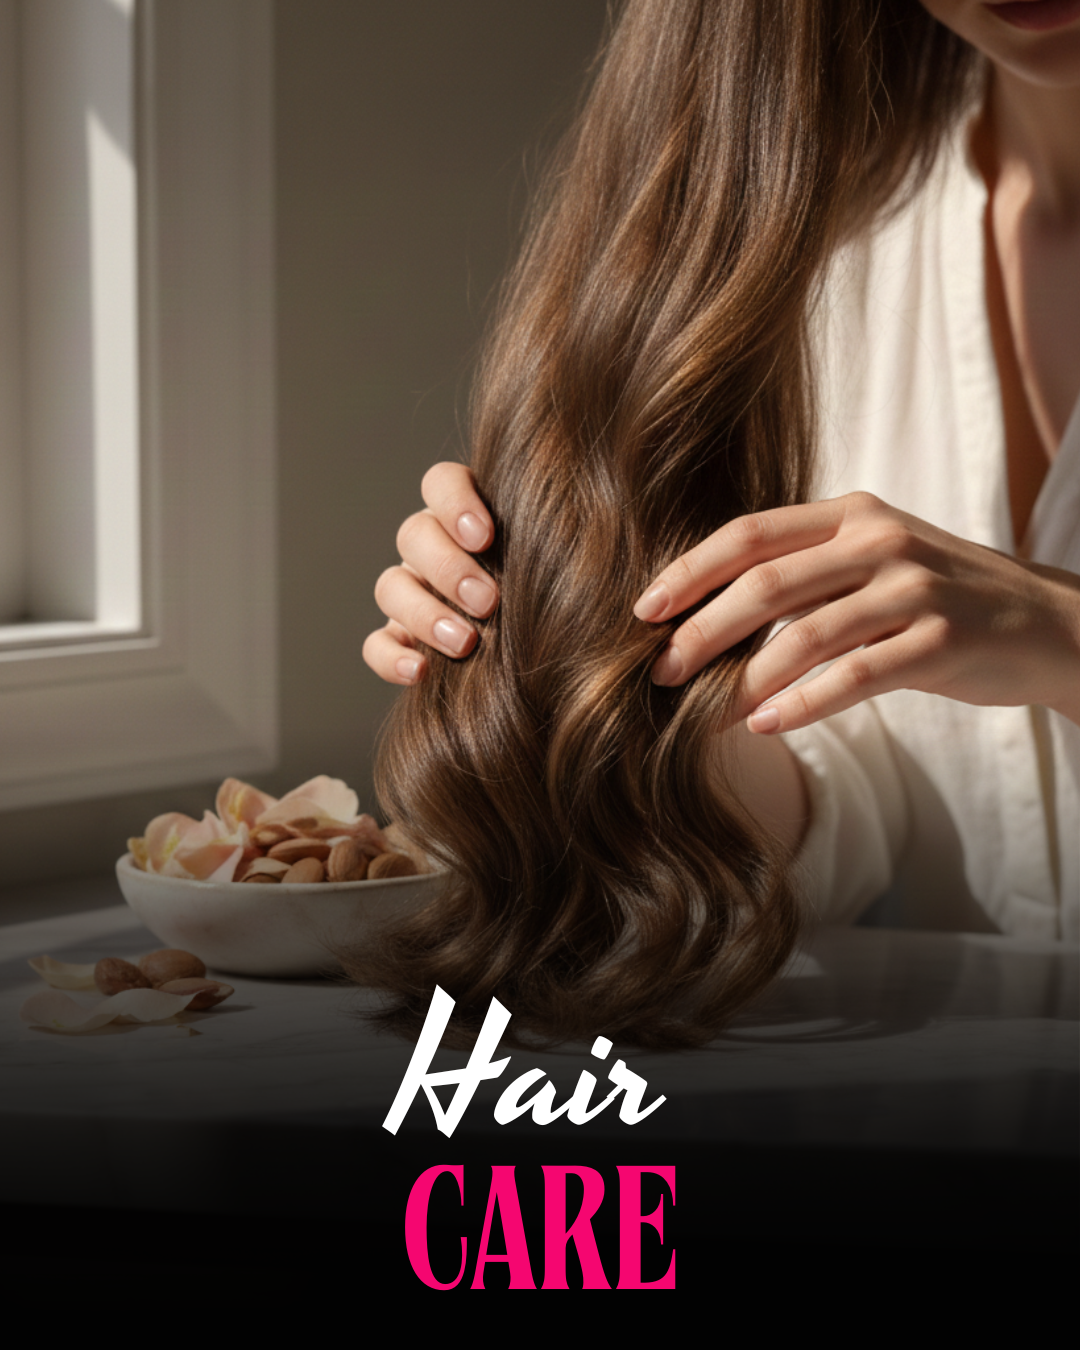
3% OffHair Care
Hair Care & Esssentials Featured Collection
View AllHair Extension Storage
₹1,499.00
₹2,000.00
25% OffFront Hair Line Powder
₹1,500.00
₹1,800.00
17% OffNo Shine Tape
₹400.00
₹500.00
20% OffPremium Spare Clips
₹60.00
₹90.00
33% OffHair Accessories Featured Collection
View AllHair Extension Storage
₹1,499.00
₹2,000.00
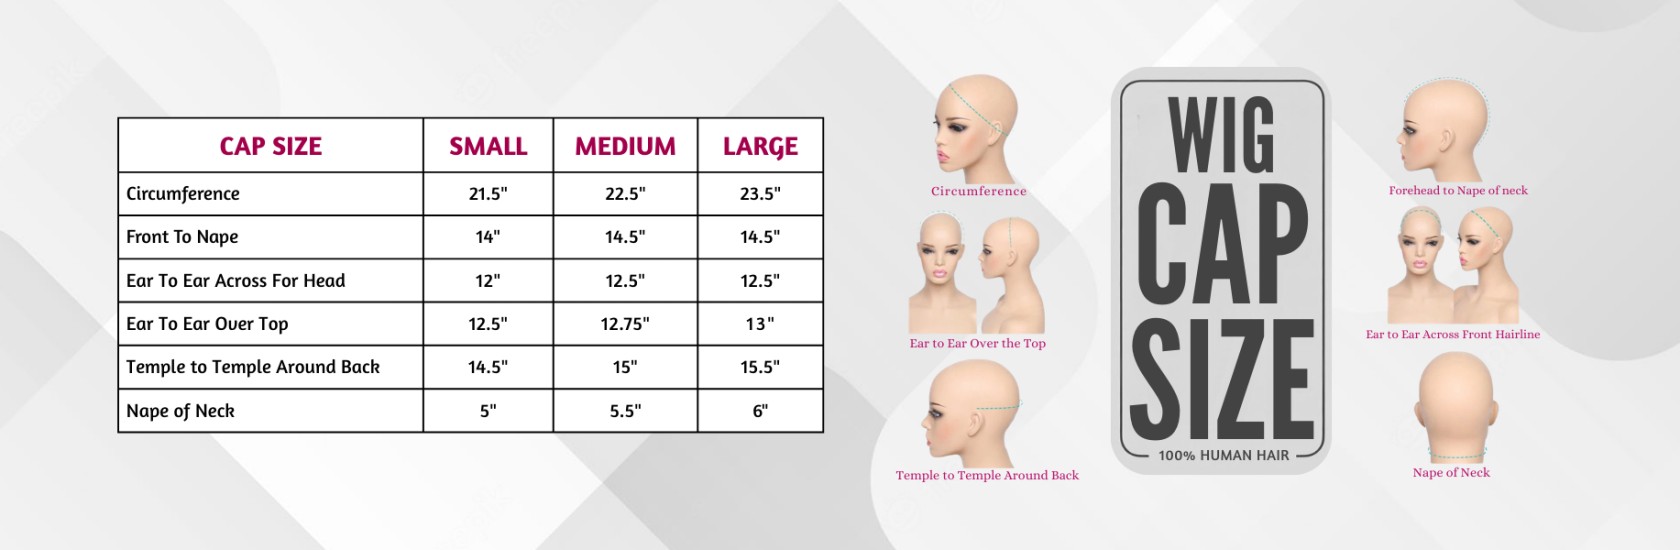
25% OffWig Cap
₹250.00
₹350.00
29% OffUltra Hold Glue
₹429.00
₹600.00
29% OffU Shape Spare Clips
₹20.00
₹30.00
33% OffWhat Our Clients Say
"I've been wearing human hair extensions for years, and these are some of the best quality I've ever had. They're so soft and luxurious."
Shivali
From Our Blog
Latest insights, health tips, and Ayurvedic wisdom.