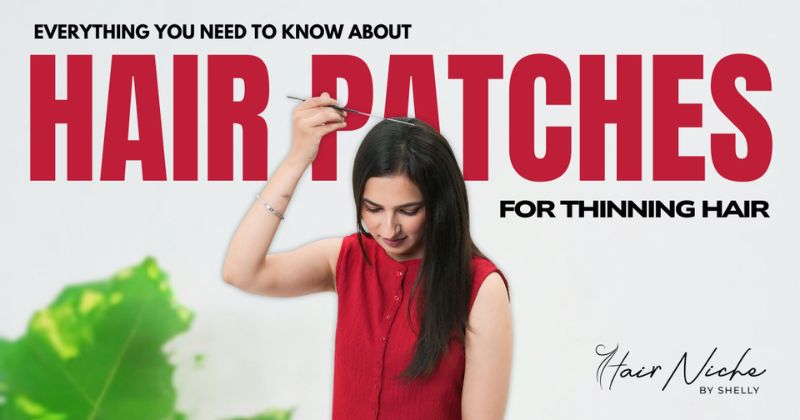
Everything You Need to Know About Hair Patches for Thinning Hair (2026 Guide)
Thinning hair affects millions of people worldwide and can impact confidence and styling choices. Fortunately, hair patches for thinning hair (also called hair toppers or hair replacement patches) provide an effective solution for adding volume and coverage to areas with sparse hair.
In this guide, we’ll explore types of hair patches, how to choose the right one, application techniques, maintenance, styling tips, and expert advice to achieve a natural, seamless look in 2026.
Why Hair Patches Are a Game-Changer
Hair patches offer several benefits for individuals dealing with thinning hair:
- Instant Volume: Provides fuller-looking hair instantly.
- Natural Appearance: High-quality human hair blends seamlessly with your natural hair.
- Non-Invasive: A safe alternative to surgery or chemical treatments.
- Versatility: Suitable for various hairstyles, from ponytails and buns to straight or wavy looks.
- Confidence Boost: Helps cover thinning areas, restore self-esteem, and expand styling options.
Types of Hair Patches for Thinning Hair
There are several types of hair patches available depending on your hair needs and lifestyle:
1. Clip-In Hair Patches
- Best for: Occasional use or temporary volume boost.
- Application: Simple clips attach the patch to your natural hair.
- Pros: Easy to apply and remove, no adhesive needed.
- Cons: Less secure for heavy activity or windy conditions.
2. Tape-In Hair Patches
- Best for: Semi-permanent coverage.
- Application: Adhesive tape secures the patch to your natural hair or scalp.
- Pros: Lightweight, reusable, and can be styled with heat.
- Cons: Requires careful placement to avoid visible tape lines.
3. Keratin or Bonded Hair Patches
- Best for: Long-term wear.
- Application: Small keratin bonds attach the patch to natural hair strands.
- Pros: Secure and durable, ideal for everyday use.
- Cons: Professional removal recommended to prevent damage.
4. Lace or Mesh-Based Hair Patches
- Best for: Maximum natural appearance.
- Application: Fine lace or mesh base allows the scalp to show, creating a natural part.
- Pros: Very natural-looking; lightweight.
- Cons: Requires careful handling and maintenance.
5. Full Hair Toppers
- Best for: Larger areas of thinning hair or balding spots.
- Application: Covers the crown, temples, or top of the head entirely.
- Pros: Full coverage and volume; blends seamlessly with long or short hair.
- Cons: Needs proper placement and adjustment for natural look.
How to Choose the Right Hair Patch
Selecting the right hair patch depends on your hair type, thinning pattern, and lifestyle:
- Assess Thinning Areas
- Determine if you need coverage at the crown, front hairline, or throughout the top of the head.
- Match Hair Texture and Color
- Extensions should blend perfectly with your natural hair for a seamless look.
- Human hair patches are ideal as they can be styled like your own hair.
- Consider Lifestyle
- Clip-ins: Casual events or short-term use.
- Tape-ins or bonded patches: Daily use for work or social events.
- Check Patch Size and Base Type
- Small patches: Ideal for localized thinning.
- Large toppers: Provide coverage for extensive thinning areas.
How to Apply Hair Patches for Thinning Hair
Correct application ensures a natural, comfortable, and secure fit:
Clip-In Patches
- Section hair and lift the top layers.
- Open clips on the patch.
- Secure the patch close to thinning areas.
- Release top layers to cover clips.
Tape-In Patches
- Clean the area and ensure hair is dry.
- Peel the adhesive backing.
- Place the patch onto the desired area.
- Press firmly to secure; trim if needed for seamless blending.
Keratin/Bonded Patches
- Section small hair strands near the thinning area.
- Attach keratin bonds using professional heat tools.
- Press to seal; avoid excessive tension on natural hair.
Lace or Mesh Patches
- Align patch with the thinning area.
- Secure using clips or adhesive.
- Style natural hair over the lace to create a natural part.
Styling Hair Patches for a Natural Look
Blending is key to a realistic appearance:
- Cut and Layer: Trim patch edges to blend with natural hair layers.
- Curl or Straighten Together: Heat-style both natural hair and patch for seamless texture.
- Add Volume at Roots: Slight teasing or light backcombing creates lift.
- Accessorize: Use clips, pins, or gajras to enhance the look while covering attachment points.
- Match Hair Color Gradients: Subtle highlights or balayage in the patch mimic natural hair variations.
Maintenance Tips for Hair Patches
Proper care prolongs the lifespan and ensures patches remain natural-looking:
- Wash Carefully
- Use sulfate-free, gentle shampoo.
- Condition only the hair strands, avoiding adhesives.
- Avoid Excessive Heat
- Curling irons or straighteners should be used sparingly.
- Store Properly
- Clip-ins or toppers: Store in satin bags or on mannequin heads.
- Tape-ins: Keep flat to protect adhesive.
- Detangle Gently
- Use a wide-tooth comb or extension brush.
- Work from tips to roots.
- Reapply or Adjust
- Tape-ins and bonded patches may require repositioning every 6–8 weeks.
Common Mistakes to Avoid
- Using mismatched colors or textures
- Placing patches too high or unevenly
- Applying excessive heat or chemical products
- Sleeping with unprotected patches
- Neglecting regular maintenance
Benefits of Using Hair Patches for Thinning Hair
- Non-Surgical Solution: Immediate coverage without invasive procedures.
- Customizable: Can be colored, curled, or styled.
- Boosts Confidence: Restores natural-looking hair instantly.
- Protects Natural Hair: Reduces stress from over-styling or hair loss treatments.
Final Thoughts
Hair patches for thinning hair are a versatile, non-invasive solution for achieving fuller, natural-looking hair. By selecting the right type, color, and size, applying correctly, and following maintenance tips, you can enjoy seamless coverage that enhances your confidence and styling options.
Brands like Hair Niche by Shelly offer ethically sourced, 100% human hair patches designed for comfort, durability, and natural blending, making them a top choice for anyone looking to restore volume and style with confidence in 2026.
10 FAQs About Hair Patches for Thinning Hair
1. Can hair patches be used for women with severe thinning?
Yes, full hair toppers or large patches provide excellent coverage.
2. How long does a hair patch last?
Depends on type and care: clip-ins (6–12 months), tape-ins (6–9 months), keratin patches (3–5 months).
3. Can I swim or shower with hair patches?
Clip-ins can be removed; tape-ins or bonded patches require waterproofing or careful handling.
4. Are hair patches noticeable?
High-quality human hair patches blend seamlessly if applied correctly.
5. Can I style patches like natural hair?
Yes, human hair patches can be curled, straightened, and colored.
6. Do patches damage natural hair?
When properly installed and removed, they minimize stress on natural hair.
7. Can I sleep with tape-in patches?
It’s recommended to remove clip-ins at night; tape-ins should be loosely styled to prevent matting.
8. How do I clean a lace or mesh patch?
Wash gently with sulfate-free shampoo and air-dry on a wig stand.
9. Can men use hair patches for thinning hair?
Absolutely, patches are unisex and can cover thinning areas effectively.
10. How do I choose the right size of patch?
Measure the thinning area; small patches for localized thinning, large toppers for extensive coverage.


